
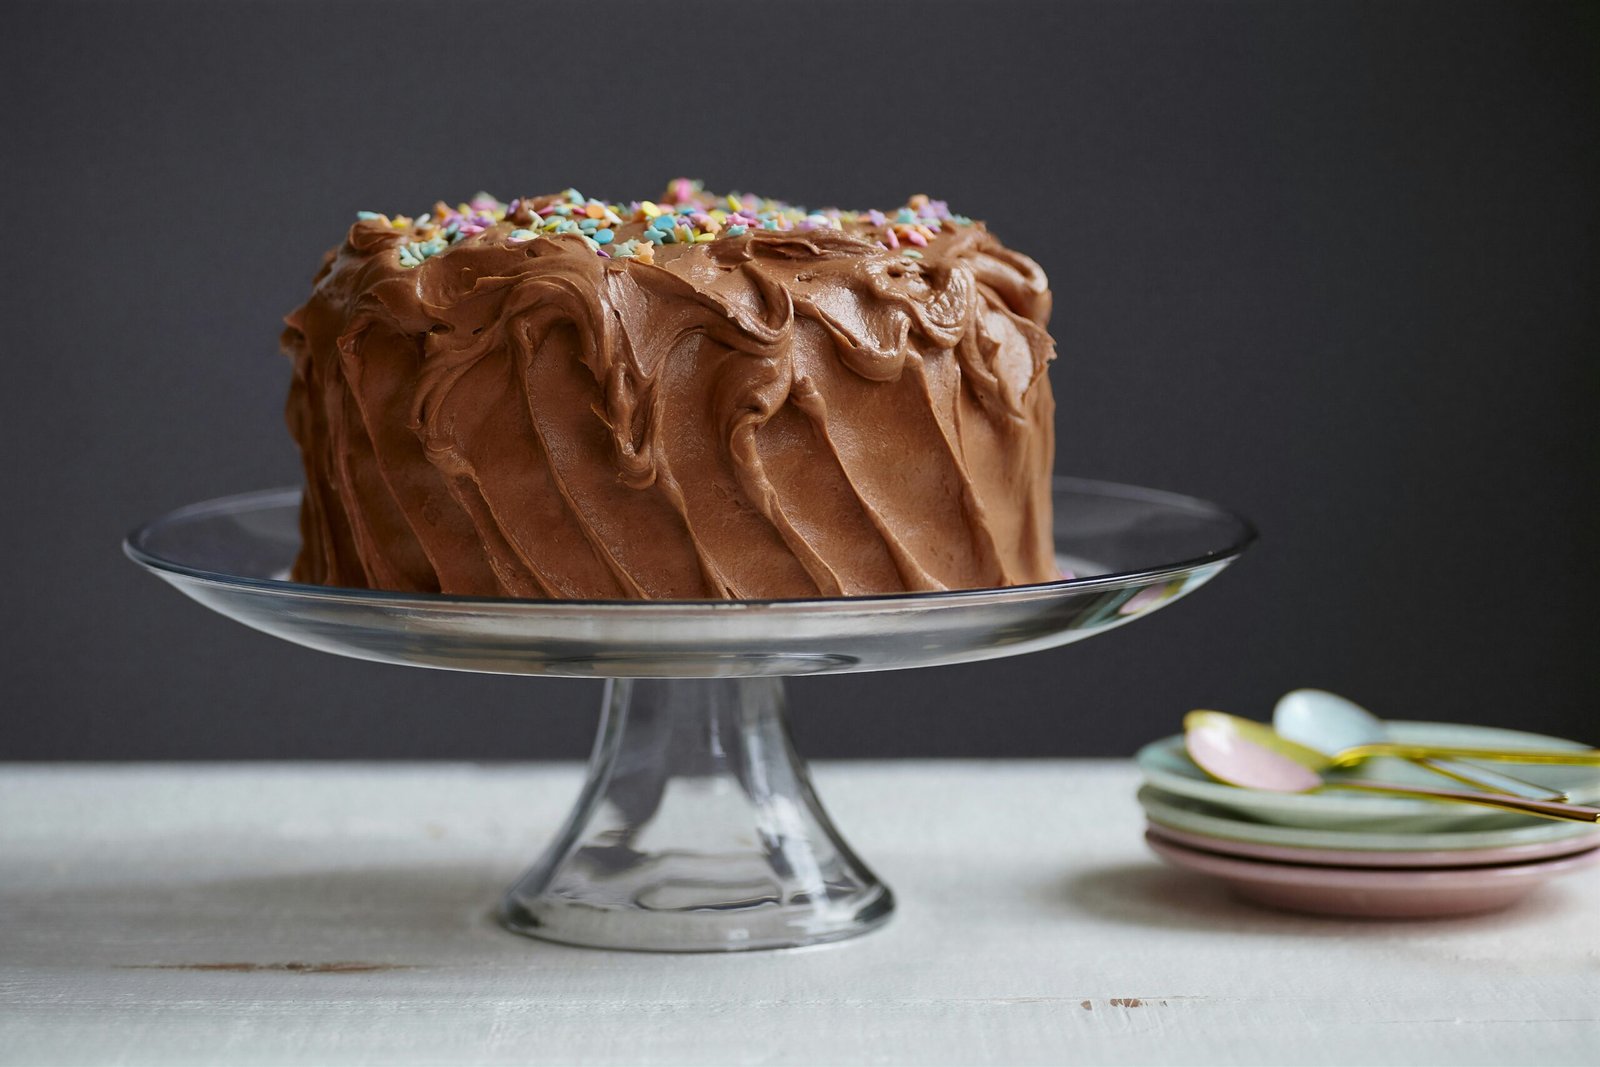
Introduction to Chocolate Lava Cake
Chocolate lava cake is a delightful dessert that has captured the hearts of many dessert enthusiasts worldwide. This exquisite confection is characterized by its rich, moist outer cake which encases a gooey, molten chocolate center. The contrast between the tender exterior and the liquid interior creates a harmonious balance that offers a truly indulgent experience with each bite.
Originating from France, the chocolate lava cake, also known as “fondant au chocolat” or “moelleux au chocolat,” emerged in the culinary scene in the late 20th century. Initially popularized by renowned chefs Jean-Georges Vongerichten and Michel Bras, this dessert quickly gained international acclaim. Vongerichten is often credited with its invention after a fortunate mishap resulted in undercooked chocolate cakes, revealing the potential for a new type of dessert. Meanwhile, Bras perfected the technique, focusing on achieving the ideal molten center encased in a perfectly baked cake.
The allure of chocolate lava cake lies in its unique texture and the sensory delight it provides. When served warm, the cake-like outer layer gives way to a luscious, molten chocolate core that flows with the first cut. This multisensory experience of warm, melting chocolate against the palate is nothing short of enchanting. Beyond taste, the visual spectacle of the oozing center adds a dramatic flair to the dining experience.
Chocolate lava cake has secured its place as a staple in upscale restaurants, often gracing the dessert menu as a must-try item. Its sophisticated presentation and the luxurious feel make it a fitting end to any gourmet meal. However, this dessert is equally popular among home bakers, delighted by the idea of creating a restaurant-quality treat in their kitchens. The blend of a rich, decadent flavor profile, coupled with a warm, flowing center, guarantees to satisfy chocolate cravings and leave a lasting impression on any dessert lover.
Gathering Ingredients and Equipment
To create a delectable chocolate lava cake, it’s essential to assemble the highest quality ingredients and appropriate equipment. Begin with procuring high-quality chocolate; semi-sweet or bittersweet varieties are ideal, and ensure it contains at least 60-70% cocoa for optimal richness. Pair this with unsalted butter to achieve a smooth, creamy texture once melted together.
Sugar plays a critical role in balancing the bitterness of the chocolate, and granulated sugar is recommended for achieving the right consistency. Fresh eggs, preferably at room temperature, are essential; they lend structure and stability to the cake batter. All-purpose flour, though used sparingly, helps to bind the ingredients and gives the cake its tender crumb.
For those looking to add a hint of extra flavor, consider incorporating a teaspoon of pure vanilla extract or a pinch of salt to enhance the complexity of the chocolate. If you prefer, experimenting with a dash of liqueurs like Grand Marnier or coffee extract can also bring unique taste variations to your chocolate lava cake.
The necessary equipment for this culinary endeavor is straightforward and likely already available in most kitchens. Ramekins, typically 6-ounce size, serve as the baking vessels and ensure the cakes hold their shape while baking. Mixing bowls of varying sizes will assist in combining the ingredients efficiently. A whisk or an electric mixer is vital to achieving a smooth, lump-free batter.
Finally, a sturdy baking sheet is required to place the filled ramekins in the oven, which facilitates even heat distribution and stability during the baking process. With all ingredients and tools assembled, you are now well-prepared to embark on crafting your own irresistible chocolate lava cake.
Preparing the ingredients for a chocolate lava cake is a crucial step that ensures the final dessert’s texture and flavor are both optimal. Start by addressing the chocolate and butter, two fundamental components of this indulgent treat. Use high-quality chocolate for the best taste and melt it together with butter in a heatproof bowl over a pot of simmering water or in the microwave. If using a microwave, heat the mixture in short intervals, stirring in between to prevent scorching. Once fully melted, allow the mixture to cool slightly. This will help later on when mixing with eggs to avoid curdling.
Next, attention should be given to the dry ingredients. Properly measuring and sifting flour is essential to prevent lumps which can affect the cake’s texture. Use a fine-mesh sieve to sift the flour into a bowl, ensuring it’s light and free of clumps. Having the flour measured correctly and sifted will contribute to the cake’s smooth consistency, promoting even mixing with the other ingredients. This step, though seemingly minor, plays a significant role in achieving a flawless batter.
Additionally, it’s vital to have all ingredients at room temperature before mixing begins. This is particularly important for eggs and butter, as batter made with cold ingredients can lead to uneven baking and a less cohesive texture. Take the eggs out of the refrigerator ahead of time, allowing them to reach room temperature. The same applies to any other components that might typically be stored cold. Room temperature ingredients mix together more easily and ensure uniformity in your chocolate lava cake batter.
By meticulously handling the preparation of ingredients—melting chocolate and butter thoroughly but carefully, sifting the flour to avoid lumps, and using room temperature ingredients—you set a solid foundation for creating a perfectly balanced batter, which is critical for the success of your chocolate lava cake.
Making the Batter
The foundation of a delectable chocolate lava cake begins with meticulously preparing the batter. Start by combining eggs and sugar in a mixing bowl. Beat these ingredients together on medium-high speed until the mixture becomes fluffy and pale, usually around 3 to 5 minutes. This step is crucial as it incorporates enough air into the batter, ensuring a light and airy texture in the finished cake.
While your egg and sugar mixture is taking shape, melt high-quality chocolate along with some butter over a double boiler. Stir occasionally until smooth and glossy. Once melted, allow this mixture to cool slightly, ensuring it is still liquid but no longer piping hot. Gently pour the cooled chocolate mixture into the beaten eggs and sugar, folding carefully to maintain the volume of the batter.
Next, it’s time to add the flour. Sift the flour beforehand to guarantee there are no lumps and to enhance its incorporation into the batter. Gradually fold the flour into the chocolate-egg mixture. This needs to be done gently to avoid deflating the batter. Use a spatula to fold, taking care to scrape the sides and bottom of the bowl to ensure even mixing. The goal here is to blend the flour thoroughly while preserving the airiness introduced in the initial stages of beating the eggs and sugar.
A critical point in this process is not to over-mix. Over-mixing can lead to a denser, less desirable texture, which would hinder the quintessential molten core of a chocolate lava cake. Aim for a smooth, yet light batter, poised to deliver the perfect balance of structured cake and gooey center. Restraint and gentle handling are essential to achieving the ideal consistency, setting the stage for an indulgent and satisfying dessert experience.
Preparing the Ramekins
Properly preparing the ramekins is a crucial step when making chocolate lava cake. Begin by thoroughly greasing each ramekin with butter. This ensures that the cake will not stick to the sides, making it easier to remove once baked. For an extra layer of protection and added flavor, dust the butter-coated ramekins with unsweetened cocoa powder. Alternatively, you can use flour, though cocoa powder is often preferred as it enhances the rich, chocolaty taste of the lava cake.
To coat the ramekins evenly, first, spoon a small amount of cocoa powder or flour into one ramekin. Gently tap and tilt the ramekin until the interior is completely covered. Be sure to discard any excess. Repeat this process for all the ramekins, ensuring each is well prepared to prevent any sticking.
When it comes to filling the ramekins with batter, precise measurement is key to achieving the perfect lava cake. Pour the batter into each ramekin, filling them about two-thirds of the way. This allows ample space for the cake to rise during baking without overflowing. Avoid filling them to the brim, as the batter’s upward expansion could lead to unwanted spillage in the oven.
Once the ramekins are filled, gently tap them on the countertop to release any trapped air bubbles, ensuring a dense, molten center upon baking. Ensuring the ramekins are adequately prepared and correctly filled with batter is vital for creating a tasty and visually appealing chocolate lava cake.
Baking the Chocolate Lava Cakes
Begin by preheating your oven to 425°F (220°C). Ensuring the oven reaches the correct temperature before placing the chocolate lava cakes inside is crucial to achieving the desired molten center. While the oven preheats, take the opportunity to prepare your batter and ramekins if you haven’t already done so.
Once the oven is fully preheated, place the ramekins containing the batter on a baking tray positioned in the center of the oven. The ideal baking time for chocolate lava cakes is typically around 12-14 minutes. However, this duration can vary depending on the oven’s calibration and the size of the ramekins used. To avoid overbaking, start checking the cakes at the 11-minute mark.
The key to achieving the perfect chocolate lava cake lies in recognizing the right moment to remove them from the oven. Look for edges that are set and firm to the touch while keeping an undercooked center. The top of the cakes should be slightly puffed but still have a soft appearance. This balance ensures the cakes will have an inviting outer layer while maintaining the molten, gooey center that defines a chocolate lava cake’s irresistible charm.
If uncertain, gently press the center of one cake with a spoon or your finger. It should feel soft and yield slightly, indicating the molten center has formed correctly. Remember, the cakes will continue to cook slightly from residual heat even after being removed from the oven. Allow them to cool in the ramekins for 1-2 minutes to set further before serving. This brief period allows the cakes to develop a firmer exterior, enhancing the overall texture.
Serving and Presentation Tips
When it comes to serving chocolate lava cakes, a few thoughtful touches can elevate the experience from delightful to unforgettable. After baking, it is essential to let the cakes cool slightly in their ramekins or molds for about 5 minutes. This brief cooling period helps to firm up the outer layer, making it easier to unmold the cakes onto serving plates without compromising their molten centers.
To unmold the lava cakes seamlessly, run a small knife around the edge of each cake and carefully invert them onto plates. The rich, gooey center should remain intact, awaiting the first eager spoonful. The visual appeal of your dessert can be significantly enhanced with some simple, yet effective garnishing techniques.
One classic approach is to dust the tops of the cakes with a light sprinkling of powdered sugar, adding a touch of elegance and a delicate sweetness. For a pop of color and freshness, consider placing a few fresh berries, such as raspberries or strawberries, around the cakes. These not only add a burst of flavor but also a vibrant visual contrast. Mint leaves can be another excellent choice, offering a refreshing aroma and a pleasing green hue.
Pairing the chocolate lava cake with a scoop of vanilla ice cream is a popular option, as the creamy, cold texture beautifully complements the warm, luscious chocolate. You might also consider a dollop of whipped cream or a drizzle of raspberry sauce for added decadence. Each of these elements works in harmony to highlight the richness of the lava cakes while providing a balanced and satisfying finish to your dessert presentation.
By paying attention to these serving and presentation tips, you can ensure that your chocolate lava cakes not only taste divine but also look irresistibly inviting.
Troubleshooting and Common Mistakes
Creating the perfect chocolate lava cake can be a delicate balancing act, where precise timing and technique are crucial. One of the most common issues encountered is the matter of undercooking or overcooking the cake. An undercooked lava cake will fail to set properly, leading to a puddle of batter rather than a flowing center. This often stems from an oven that is not preheated properly or baking times that are too short. Conversely, overcooking results in a firm center that fails to ooze, primarily due to excessive baking time or an oven that runs hotter than indicated.
To address these issues, firstly, ensure your oven is correctly preheated to 425°F (220°C) before placing the cakes inside. Oven temperatures can vary, so investing in an oven thermometer can provide a more accurate reading and necessary adjustments. It’s equally important to adhere to the recommended baking time of 12-14 minutes but keep a close watch during the final stages of baking. The cakes should have set edges with a slightly soft center, which may require minimal time adjustments based on your specific oven.
Another aspect to consider is the preparation of the ramekins. Adequate greasing and dusting with cocoa powder can prevent the cakes from sticking, ensuring a smooth release. It’s also beneficial to let the batter rest for a few minutes in the ramekins before baking, which allows the ingredients to settle and can contribute to a better texture.
Practicing these techniques is essential for achieving the perfect balance of a firm exterior and a molten interior. Each oven and baking environment is unique, so refining your process through repeated trials will help you understand the nuances of your specific setup. As you make adjustments and observe the results, you’ll hone in on the precise combination of temperature and time that yields a truly delectable chocolate lava cake.